
Because everyone is suffering from anxiety, especially my kids, I created a breathe-along breathing animation for kids (works for grown-ups too).
Full English version here. You can see the Hebrew version below. For a step by step explanation of the code, read on.
I searched for a fun animation of the candle and flower breathing exercise that can be followed easily, and for some reason I didn’t find anything that my 11-year-old liked. The music was annoying, or there was talking before and after, or there was a creepy Darth Vader breathing sound.
Not really soothing as such.
So I decided to create my own, with what I know. And at the moment, I know Flutter.
The plan
So, this is what I need:
- A nice gradient full screen background
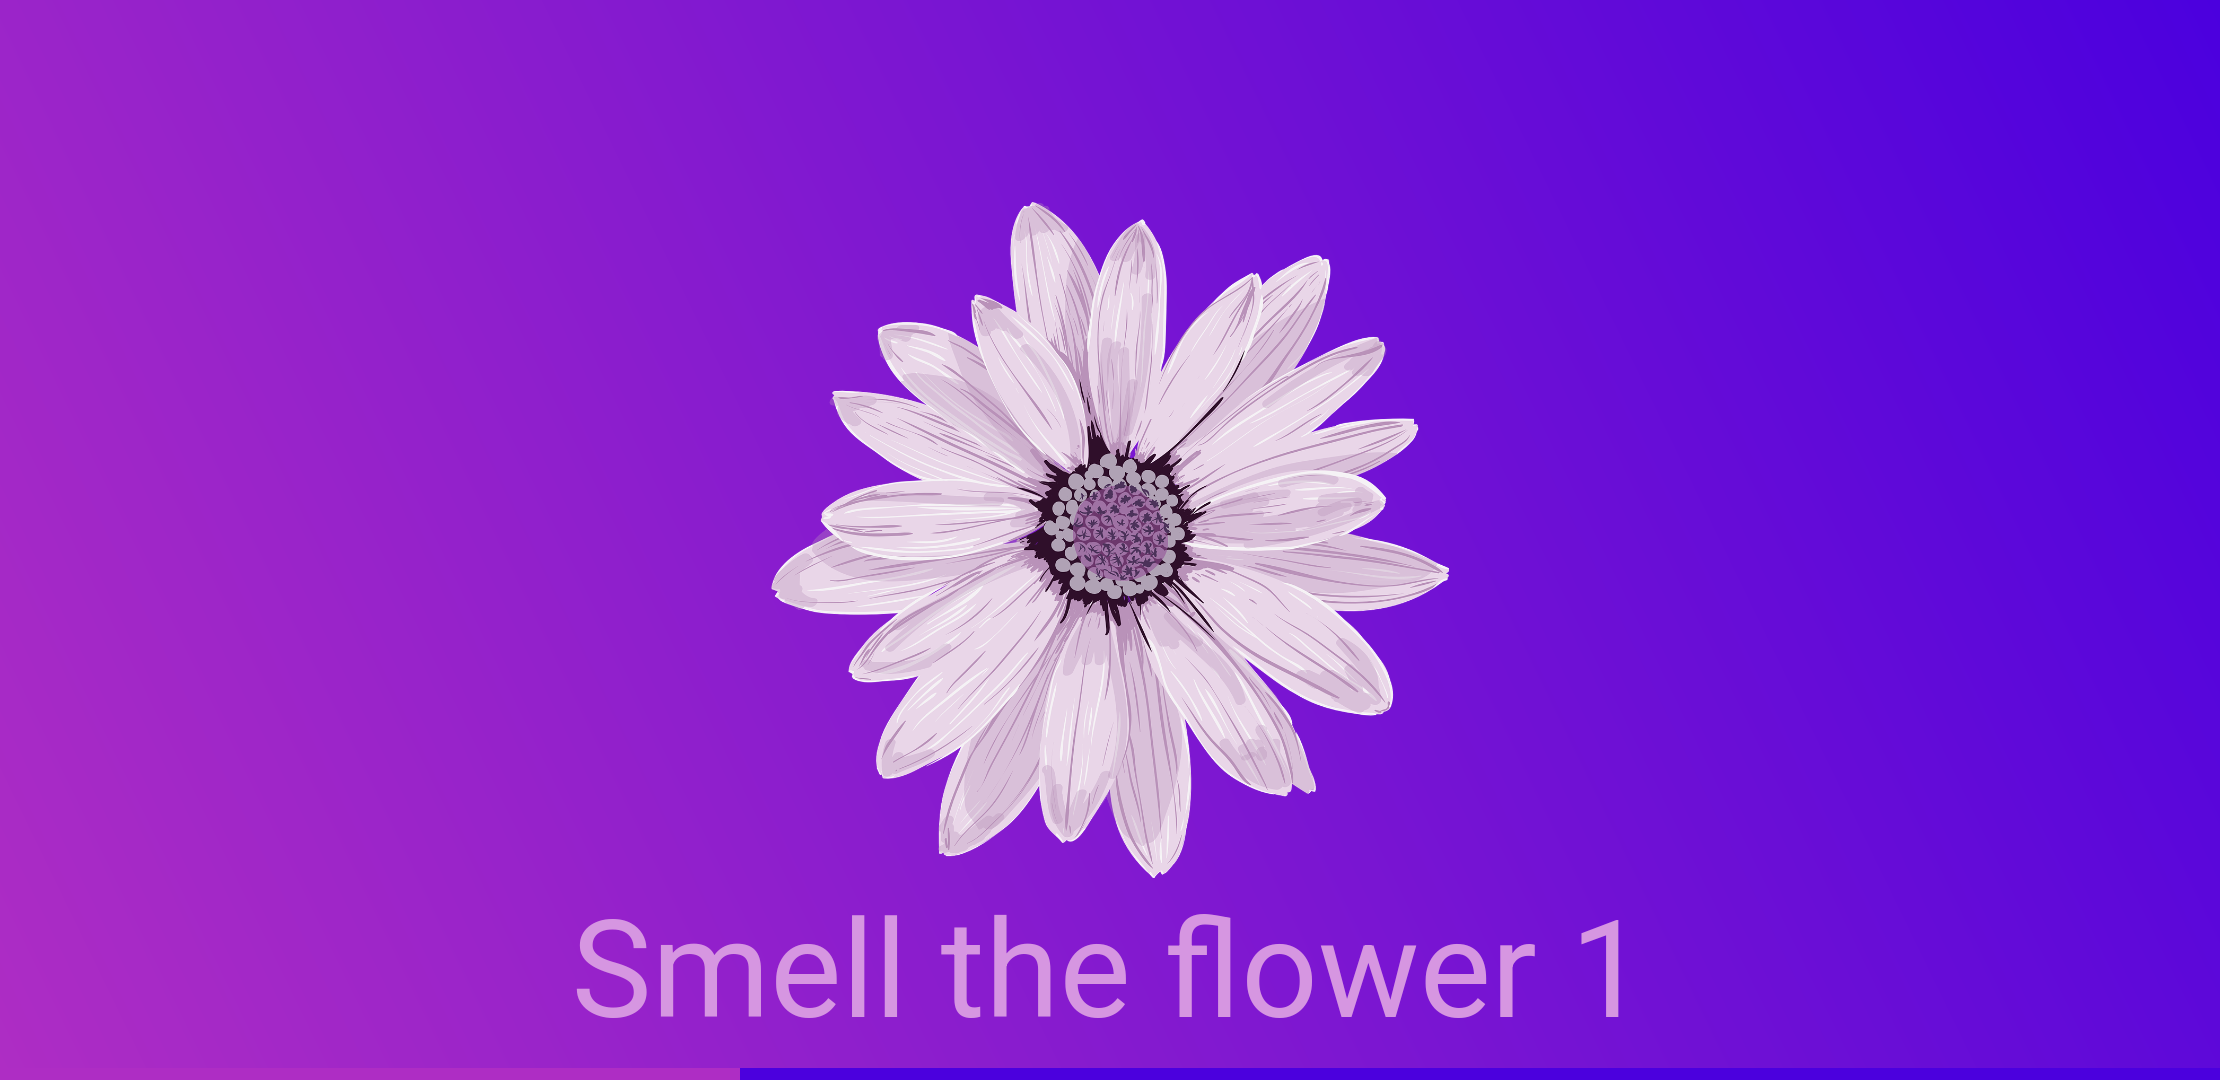
- A flower that expands for 4 seconds
- A candle that shrinks for 6 seconds
- Some text explaining what to do when
- Countdown text
- Progress bar
- Soothing background music.
Assets
A great site for free assets is Pixabay. Both the flower and the music are from there.
The candle caused some problems. Had I just wanted a candle on a transparent background, that also exists in Pixabay. However, I wanted the candle to flicker. So I needed a gif of a candle on a transparent background.
I couldn’t find one.
In the end I created it myself (I will explain how in another article :)) and then uploaded it to Pixabay, you can find it here.
OK, we’ve got our assets. Let’s add them to pubspec.yaml:
# To add assets to your application, add an assets section, like this:
assets:
  - lib/images/ #if it's inside the lib folder
  - images #if it's in your root folder
Framework
As I plan to create more breathing animations, I created AnimationParameters:
class AnimationParameters {
  //inhale time
  final Duration inhale;
  //hold breath after inhale time
  final Duration holdInhale;
  //exhale time
  final Duration exhale;
  //hold breath after exhale
  final Duration holdExhale;
  //number of inhale and axhale cycles
  final int cycles;

  //use doubles in case I want fractions later
  AnimationParameters(
      {double inhale = 4,
      double holdInhale = 0.5,//can't do it 0, it transitions too fast
      double exhale = 6,
      double holdExhale = 0.5,//same
      double intro = 3,
      this.cycles = 6})
      : inhale = Duration(milliseconds: (inhale * 1000).floor()),
        holdInhale = Duration(milliseconds: (holdInhale * 1000).floor()),
        exhale = Duration(milliseconds: (exhale * 1000).floor()),
        holdExhale = Duration(milliseconds: (holdExhale * 1000).floor());
}
And ShowAnimationPage that receives AnimationParameters:
import 'package:flutter/material.dart';
import 'package:flutter/services.dart';

import '../model/animation_parameters.dart';

class ShowAnimationPage extends StatefulWidget {
  const ShowAnimationPage({super.key, required this.parameters});

  final AnimationParameters parameters;
  @override
  State<ShowAnimationPage> createState() => _ShowAnimationPageState();
}

class _ShowAnimationPageState extends State<ShowAnimationPage>{

   //we'll add animations here soon

  //this should be in theme
  final Color darkPurple = const Color(0xff4b00de);
  final Color lightPurple = const Color(0xffae2dc4);


  @override
  void initState() {
    //and we'll listen to the animations here

    //Remove the status bar
    SystemChrome.setEnabledSystemUIMode(SystemUiMode.leanBack);
    super.initState();
  }

  @override
  void dispose() {
   //we'll dispose of the animations here
    super.dispose();
  }

  @override
  Widget build(BuildContext context) {
    return Scaffold(
      body: Container(
          //this is our linear gradient background
          decoration: BoxDecoration(
              gradient: LinearGradient(
                  begin: Alignment.topRight,
                  end: Alignment.bottomLeft,
                  colors: [darkPurple, lightPurple])),
          child: Stack(alignment: Alignment.center, children: [
            //we'll put children here soon
          ])),
    );
  }
}
We’ve got our nice background:

Soothing. Let’s stop here.
Note the line:
SystemChrome.setEnabledSystemUIMode(SystemUiMode.leanBack);
This removes the status bar and shows our animation in full-screen mode.
Animations
I planned to use AnimatedPositioned for the flower and candle, like this:
double imageWidth = 150;
...
Wdiget build ( BuildContext context) {
...
Stack(alignment: Alignment.center, children: [
            AnimatedPositioned(
              duration: currentDuration,
              width: imageWidth,
              child: Image.asset(
                "lib/images/flower.png",
              ),
            ),
          ])
}
but this had some problems.
- Something needs to trigger the animation, and trigger the change between flower and candle. A timer? An AnimationController?
- Even when using a timer, the first time, the flower wouldn’t expand.
AnimatedWidgetwidgets are automatic;WidgetTransitionwidgets need anAnimationControllerand can be controlled programmatically.
While it is possible to trigger an AnimatedPositioned on startup, it isn’t really the recommended way to do so. The recommended way to trigger animations and control them is using an AnimationController.
So instead of using AnimatedPositioned, I used ScaleTransition. In general in Flutter, AnimatedWidget widgets are automatic; WidgetTransition widgets need an AnimationController and can be controlled programmatically. A great tutorial on this is here.
ScaleTransition
import 'package:flutter/material.dart';
import 'package:flutter/services.dart';

import '../model/animation_parameters.dart';

class ShowAnimationPage2 extends StatefulWidget {
  const ShowAnimationPage2({super.key, required this.parameters});

  final AnimationParameters parameters;
  @override
  State<ShowAnimationPage2> createState() => _ShowAnimationPage2State();
}

class _ShowAnimationPage2State extends State<ShowAnimationPage2>
    with TickerProviderStateMixin {

  //animation controller
  late final AnimationController _controller = AnimationController(
    duration: widget.parameters.inhale,
    vsync: this,
  )..forward();

  //scale animation
  late final Animation<double> _animation =
      Tween<double>(begin: 0.6, end: 1).animate(_controller);


  //this should be in theme
  final Color darkPurple = const Color(0xff4b00de);
  final Color lightPurple = const Color(0xffae2dc4);

  //current animation duration
  late Duration currentDuration = widget.parameters.inhale;
  //are we during forward of animation or reverse?
  bool forward = true;

  @override
  void initState() {
    SystemChrome.setEnabledSystemUIMode(SystemUiMode.leanBack);
    //trigger action on animation states
    _controller.addStatusListener((status) {
      //finished forward
      if (status == AnimationStatus.completed) {
        if (forward) {
          Future.delayed(widget.parameters.holdInhale, () {
            //update duration and trigger reverse
            _controller.duration = widget.parameters.exhale;
            _controller.reverse();
            currentDuration = widget.parameters.exhale;
            setState(() {
              forward = false;
            });
          });
        }
      }
      //finished reverse
      else if (status == AnimationStatus.dismissed) {
        Future.delayed(widget.parameters.holdExhale, () {
          //update duration and trigger forward
          _controller.duration = widget.parameters.inhale;
          currentDuration = widget.parameters.inhale;
          _controller.forward();
          setState(() {
            forward = true;
          });
        });
      }
    });
    super.initState();
  }

  @override
  void dispose() {
    //dispose of the animations
    _controller.dispose();
    super.dispose();
  }

  @override
  Widget build(BuildContext context) {
    return Scaffold(
      body: Container(
          //this is our linear gradient background
          decoration: BoxDecoration(
              gradient: LinearGradient(
                  begin: Alignment.topRight,
                  end: Alignment.bottomLeft,
                  colors: [darkPurple, lightPurple])),
          child: Stack(alignment: Alignment.center, children: [
            Center(
              child: SizedBox(
                width: 250, //full size, scale = 1
                child: ScaleTransition(
                  scale: _animation,
                  child: forward
                      ? Image.asset(
                          "lib/images/flower.png",
                        )
                      : Image.asset(
                          "lib/images/candle-transparent.gif",
                        ),
                ),
              ),
            ),
          ])),
    );
  }
}
What did we do?
- We created a controller, with the duration of the inhale.
- We created an Animation. As we want the image to animate between a width of 150 and a width of 250, which translates to a scale between
0.6*250to1*250,we create an animation between 0.6 to 1. We could also have definedscale=1forwidth=150and changed the numbers accordingly. - We defined a boolean
forwardto keep track of what image we want to show. - We listen to the animation status. When we finish
forward()we updatedurationandforwardboolean and triggerreverse(). When we finish thereverse()animation, we updatedurationandforwardand triggerforward(). - Finally, we create a
ScaleTransitionwidget and show flower or candle depending onforward.
This is the result:

Excellent.
Smooth transition
The transition between the flower and the candle is a little abrupt. Let’s smooth it with the AnimatedCrossFade widget:
ScaleTransition(
  scale: _animation,
  child: AnimatedCrossFade(
    duration: widget.parameters.holdExhale,
    crossFadeState: forward
        ? CrossFadeState.showFirst
        : CrossFadeState.showSecond,
    firstChild: Image.asset(
      "lib/images/flower.png",
    ),
    secondChild: Image.asset(
      "lib/images/candle-transparent.gif",
    ),
  ),
),
And the result:

Sweet!
Text
The text needs a timer, to count out the seconds. Then we update the text with the seconds left.
import 'dart:async';

import 'package:flutter/material.dart';
import 'package:flutter/services.dart';

import '../model/animation_parameters.dart';

class ShowAnimationPage2 extends StatefulWidget {
  const ShowAnimationPage2({super.key, required this.parameters});

  final AnimationParameters parameters;
  @override
  State<ShowAnimationPage2> createState() => _ShowAnimationPage2State();
}

class _ShowAnimationPage2State extends State<ShowAnimationPage2>
    with TickerProviderStateMixin {

  late final AnimationController _controller = AnimationController(
    duration: widget.parameters.inhale,
    vsync: this,
  )..forward();

  //scale animation
  late final Animation<double> _animation =
      Tween<double>(begin: 0.6, end: 1).animate(_controller);
  bool forward = true;

  //this should be in theme
  final Color darkPurple = const Color(0xff4b00de);
  final Color lightPurple = const Color(0xffae2dc4);
  late final Color textPurple = Color.lerp(lightPurple, Colors.white, 0.5)!;

  //current animation duration
  late Duration currentDuration = widget.parameters.inhale;

  //timer
  late int timerValue = widget.parameters.inhale.inSeconds;
  late Timer _timer;
  String message = "";

  //on timer tick, update timerValue.
  //Cancel timer if done, new timer in animation listener
  void timerCallback(Timer timer) {
    setState(() {
      timerValue = timerValue - 1;
      if (timerValue == 0) {
        timer.cancel();
      }
    });
  }

  @override
  void initState() {
    SystemChrome.setEnabledSystemUIMode(SystemUiMode.leanBack);

    //create timer
    _timer = Timer.periodic(Duration(seconds: 1), timerCallback);

    _controller.addStatusListener((status) {
      print("here $forward status: $status");
      if (status == AnimationStatus.completed) {
        if (forward) {
          Future.delayed(widget.parameters.holdInhale, () {
            //update duration and trigger reverse
            _controller.duration = widget.parameters.exhale;
            _controller.reverse();
            currentDuration = widget.parameters.exhale;
            //update timerValue
            timerValue = widget.parameters.exhale.inSeconds;
            //restart timer
            _timer = Timer.periodic(Duration(seconds: 1), timerCallback);
            setState(() {
              forward = false;
            });
          });
        }
      } else if (status == AnimationStatus.dismissed) {
        Future.delayed(widget.parameters.holdExhale, () {
          //update duration and trigger forward
          _controller.duration = widget.parameters.inhale;
          currentDuration = widget.parameters.inhale;
          _controller.forward();
          //update timerValue
          timerValue = widget.parameters.inhale.inSeconds;
          //restart timer
          _timer = Timer.periodic(Duration(seconds: 1), timerCallback);
          setState(() {
            forward = true;
          });
        });
      }
    });
    super.initState();
  }

  @override
  void dispose() {
    //dispose of the animations
    _controller.dispose();
    //cancel timer
    _timer.cancel();
    super.dispose();
  }

  @override
  Widget build(BuildContext context) {
    //text message
    message = forward ? "Smell the flower" : "Blow out the candle";
    return Scaffold(
      body: Container(
          //this is our linear gradient background
          decoration: BoxDecoration(
              gradient: LinearGradient(
                  begin: Alignment.topRight,
                  end: Alignment.bottomLeft,
                  colors: [darkPurple, lightPurple])),
          child:
            ...
            //text and timer value
            Positioned(
                bottom: 10,
                child: Text(
                  timerValue == 0 ? "" : "$message $timerValue",
                  style: Theme.of(context)
                      .textTheme
                      .displayMedium!
                      .copyWith(color: textPurple),
                ))
          ])),
    );
  }
}
Let’s look at the code:
- We create a timer
_timer, an inttimerValuethat will hold the number of seconds left, and a Stringmessagefor the text message. - We create a timer callback function that is called every second called
timerCallback. It updates thetimerValueint value, and cancels the timer when it reaches 0. - In the animation listener, we also create a new timer and update
timerValue. - We define the
messagedepending onforward. - Finally, we show the results of all this hard work in a
Positionedwidget below the animation.
Progress Bar
Last but not least, we need to show how many breaths are left in the video. For this, we need to keep track of the number of breaths taken and the total number of breaths in the animation.
//progress
int cycle = 0;

...

//in initState
else if (status == AnimationStatus.dismissed) {
  Future.delayed(widget.parameters.holdExhale, () {
    //update duration and trigger forward
    _controller.duration = widget.parameters.inhale;
    currentDuration = widget.parameters.inhale;
    _controller.forward();
    timerValue = widget.parameters.inhale.inSeconds;
    _timer = Timer.periodic(Duration(seconds: 1), timerCallback);
    setState(() {
      forward = true;
      cycle = cycle + 1;//udpate cycle
    });
  });

...

//in build, in the stack
Positioned(//this is the text from before
    bottom: 10,
    child: Text(
      timerValue == 0 ? "" : "$message $timerValue",
      style: Theme.of(context)
          .textTheme
          .displayMedium!
          .copyWith(color: textPurple),
    )),
Align(//this is the progress bar
  alignment: Alignment.bottomCenter,
  child: LinearProgressIndicator(
      color: lightPurple,
      backgroundColor: darkPurple,
      value: cycle.toDouble() / widget.parameters.cycles),
)
See the progressbar at the bottom?
Done!
Exporting as video
I simply recorded from the emulation tools. Click on the 3 dots …
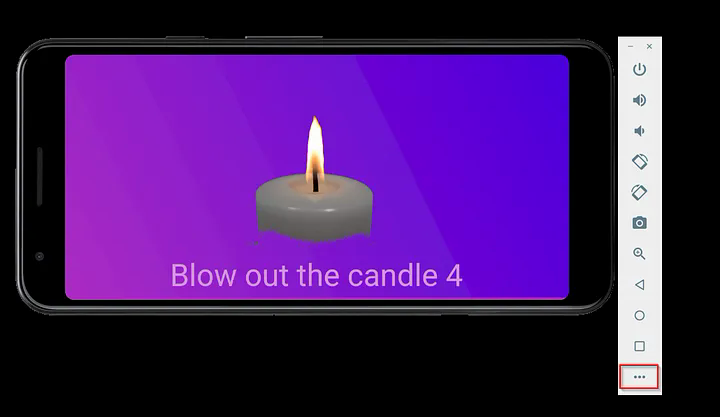
And then choose Record and Playback (the gifs in this article were created the same way):

You can save as .gif or as .webm.
Another option is the render plugin.
I added title cards and the background music in ClipChamp, but I am adding it to the app as well.
Another great thing about doing animations in Flutter, is that it’s trivial to change the language, as evidenced by the Hebrew video above.
What do you use to relax? How do you use Flutter animations? Let me know in the comments.